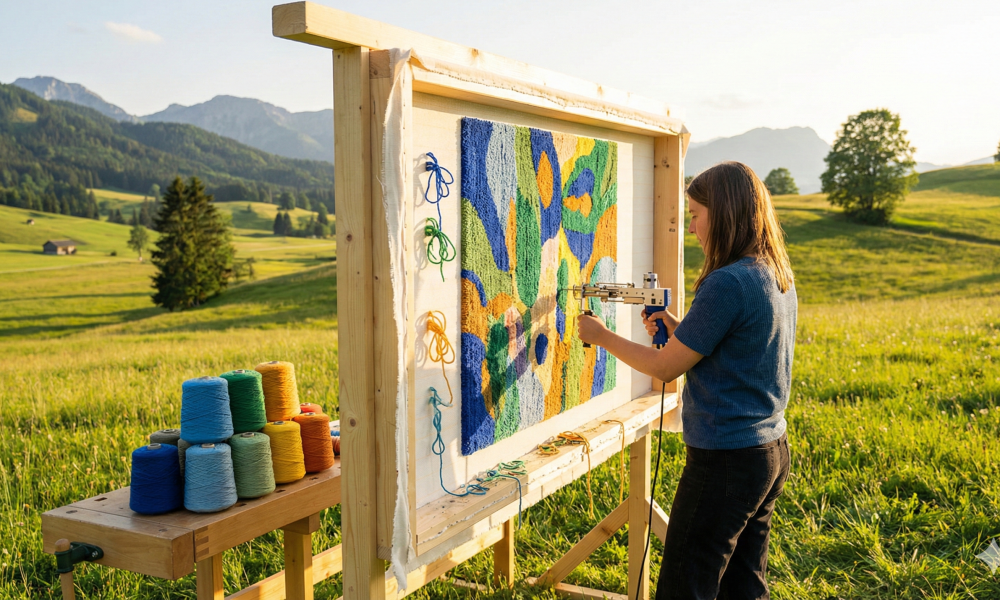
The Hidden Dangers of Traditional Tufting: Why Nails Are a Problem
Traditional tufting frames present a surprising array of hazards that can turn a relaxing creative session into a stressful—or even painful—experience. The setup process alone demands hammering dozens of nails into wooden boards, creating immediate risks. A single misplaced strike can lead to bruised fingers or worse, while the repetitive hammering motion strains wrists and forearms, particularly for those new to carpentry work. Once installed, those sharp nail points become persistent threats. Crafters frequently snag their hands while stretching fabric, and stray yarn catches on exposed tips, causing frustrating tangles that interrupt workflow and damage materials.
 Beyond physical injury, nail-based frames suffer from structural instability that undermines project quality. Nails can loosen over time or pull free under the constant tension required for tufting, causing fabric to sag mid-project. This uneven surface makes it nearly impossible to achieve consistent pile height and clean lines—flaws that become permanent once the rug is finished. For hobbyists working in shared spaces or homes with curious children and pets, the dangers multiply. A frame bristling with sharp points poses risks even when not in active use, requiring constant vigilance and secure storage. These combined challenges—from setup injuries to ongoing safety concerns and compromised results—create unnecessary barriers that discourage beginners and distract experienced crafters from the joy of creation itself.
How a Nail-Free Tufting Kit Works: The Fabric Rod System Explained
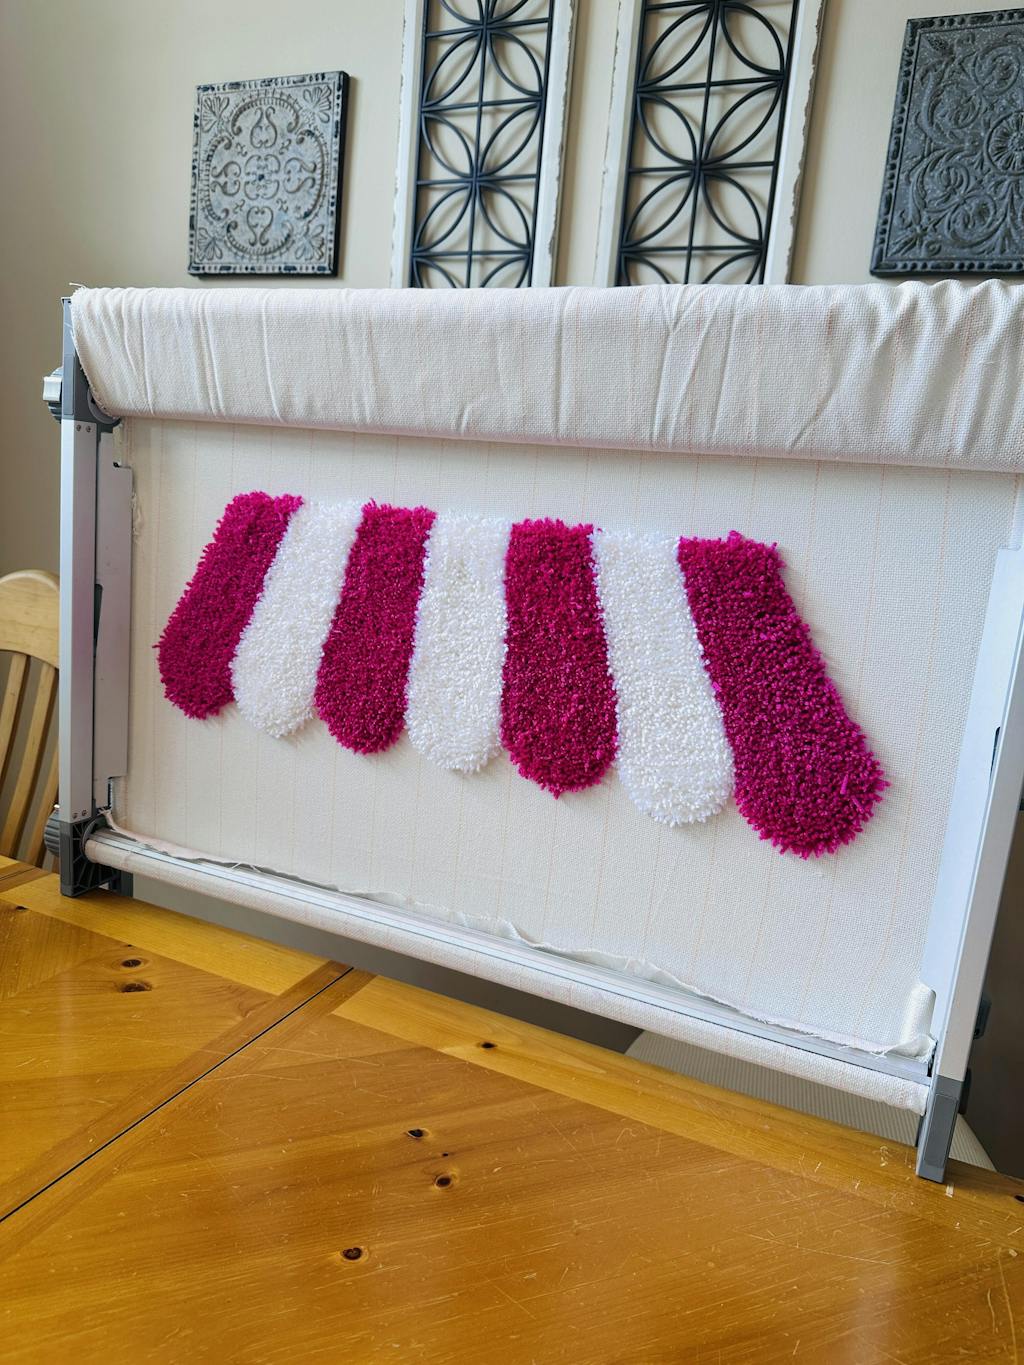
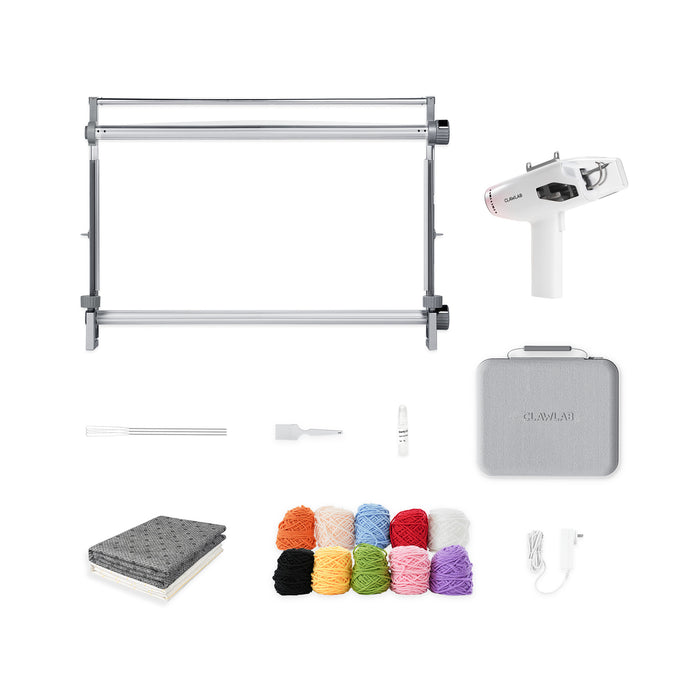
The fabric rod system reimagines frame construction through elegant simplicity. Instead of hammering nails into wood, this nail-free design uses smooth horizontal rods that slide through channels built into the frame’s edges. The fabric attaches via specialized gripper strips—textured bands that clamp the material securely when the rods are inserted and locked into place. The frame itself typically features a sturdy rectangular structure with adjustable corners, allowing crafters to customize dimensions for different project sizes.
 Setting up takes minutes rather than the hour-long ordeal of traditional frames. First, lay your backing fabric flat and position it over the frame opening. Next, fold one edge of the fabric over the gripper strip on the frame’s side, then slide the corresponding rod through its channel to lock the fabric in place. Repeat this process for the opposite side, pulling the fabric taut before securing. Finally, attach the remaining two sides using the same rod-and-gripper method, working in a cross pattern to distribute tension evenly. The result is a drum-tight surface with no gaps or sags—the ideal foundation for precise tufting. This secure, even tension remains constant throughout your project, eliminating the gradual loosening that plagues nail-based setups and ensuring every tuft sits at the perfect height.
Safety First: Key Benefits of a Nail-Free Setup for Crafters
The shift to a nail-free design delivers transformative safety advantages that address every pain point of traditional tufting. Most immediately, you eliminate the need for hammers entirely—no more bruised thumbs, no repetitive strain from pounding dozens of nails, and zero risk of flying metal debris. The absence of sharp nail points removes the constant threat of puncture wounds during fabric installation and adjustment. Your hands can move freely across the frame surface without fear of snagging skin or catching clothing, while yarn feeds smoothly without tangling on exposed metal tips that damage fibers and interrupt your creative flow.
 For households with children or pets, the safety upgrade becomes even more critical. A nail-free frame presents no sharp hazards when stored against a wall or left unattended between sessions, transforming your craft space into a genuinely family-friendly zone. This peace of mind extends to your mental focus during actual tufting work. When you’re not constantly aware of sharp points and structural instability, you can concentrate fully on perfecting your design, experimenting with color transitions, and enjoying the meditative rhythm of the tufting gun. The stable fabric tension means you’re not pausing to retighten sagging areas or compensate for uneven surfaces—your energy goes entirely into creativity rather than safety management and damage control.
Getting Started: Your Step-by-Step Guide to Using a Tufting Gun Safely
Pre-Tufting Preparation and Safety Check
Before powering on your tufting gun, conduct a thorough equipment inspection to prevent malfunctions mid-project. Examine the needle for any bends or burrs that could snag fabric, and verify that the thread guide is clean and properly aligned. Check that the power cord has no fraying or exposed wires. Prepare your yarn by winding it onto a cone holder or placing it in a bowl where it can feed freely without tangling. Clear your workspace of clutter, securing loose items that might interfere with your movements. Always wear safety glasses to protect your eyes from stray fibers and potential debris—this simple step prevents irritation during extended tufting sessions.
Operating the Tufting Gun on a Nail-Free Frame
Position yourself comfortably with the frame at waist height, allowing your arms to move naturally without straining. Grip the tufting gun firmly with your dominant hand around the handle, keeping your index finger ready on the trigger. Hold the gun perpendicular to the fabric surface—this ninety-degree angle ensures consistent pile height. Press the needle gently against the fabric, then squeeze the trigger to start the motor before pushing forward. Move at a steady walking pace, maintaining even pressure throughout each stroke. The stable, nail-free fabric surface eliminates concerns about hitting metal points or compensating for sagging areas, letting you focus entirely on smooth, controlled movements. Release the trigger before lifting the gun from the fabric to prevent yarn breakage. Practice straight lines and gentle curves on scrap fabric until your rhythm feels natural and your pile height remains uniform.
Post-Tufting Safety and Maintenance
Once you finish a session, unplug the tufting gun immediately and allow it to cool for several minutes before handling the needle area. Remove any accumulated lint or fiber buildup from the needle, thread guide, and motor housing using a small brush or compressed air—this prevents jamming and extends tool life. Store the gun in its case or a dedicated drawer where the needle won’t be bumped or damaged. Wind excess yarn back onto cones or into sealed containers to keep it clean and tangle-free for your next project. This routine maintenance takes less than five minutes but ensures your equipment remains safe and reliable for countless creative sessions ahead.
Choosing the Right Tools: Beginner-Friendly Tufting Kit Essentials
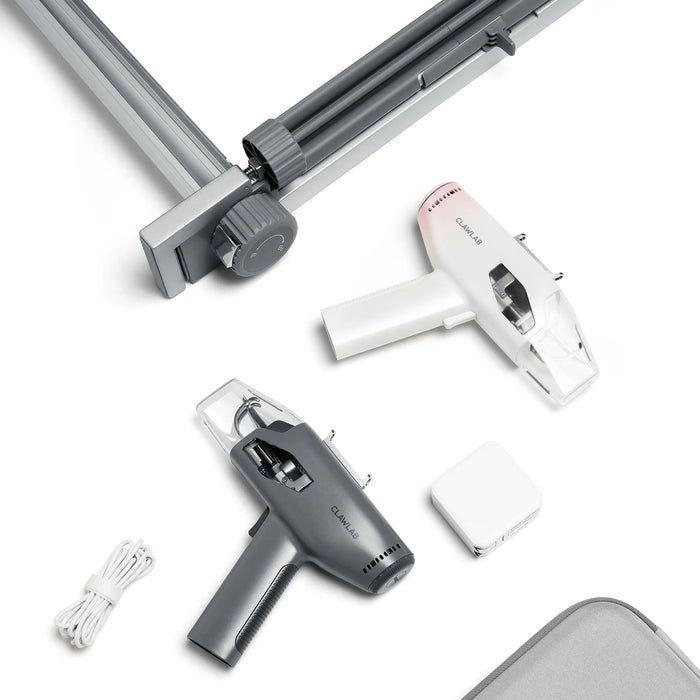
Selecting your first tufting kit can feel overwhelming, but focusing on a few key features ensures a safe, enjoyable learning experience. Start with the tufting gun itself—look for a lightweight model that won’t fatigue your arm during longer sessions. A responsive trigger with smooth action gives you better control over starting and stopping, preventing accidental punches that waste yarn. Adjustable pile height settings allow you to experiment with different textures without buying multiple tools, making your investment more versatile as your skills grow. Manufacturers like Clawlab have developed tufting guns specifically designed with beginner safety in mind, incorporating ergonomic grips and intuitive controls that reduce the learning curve.
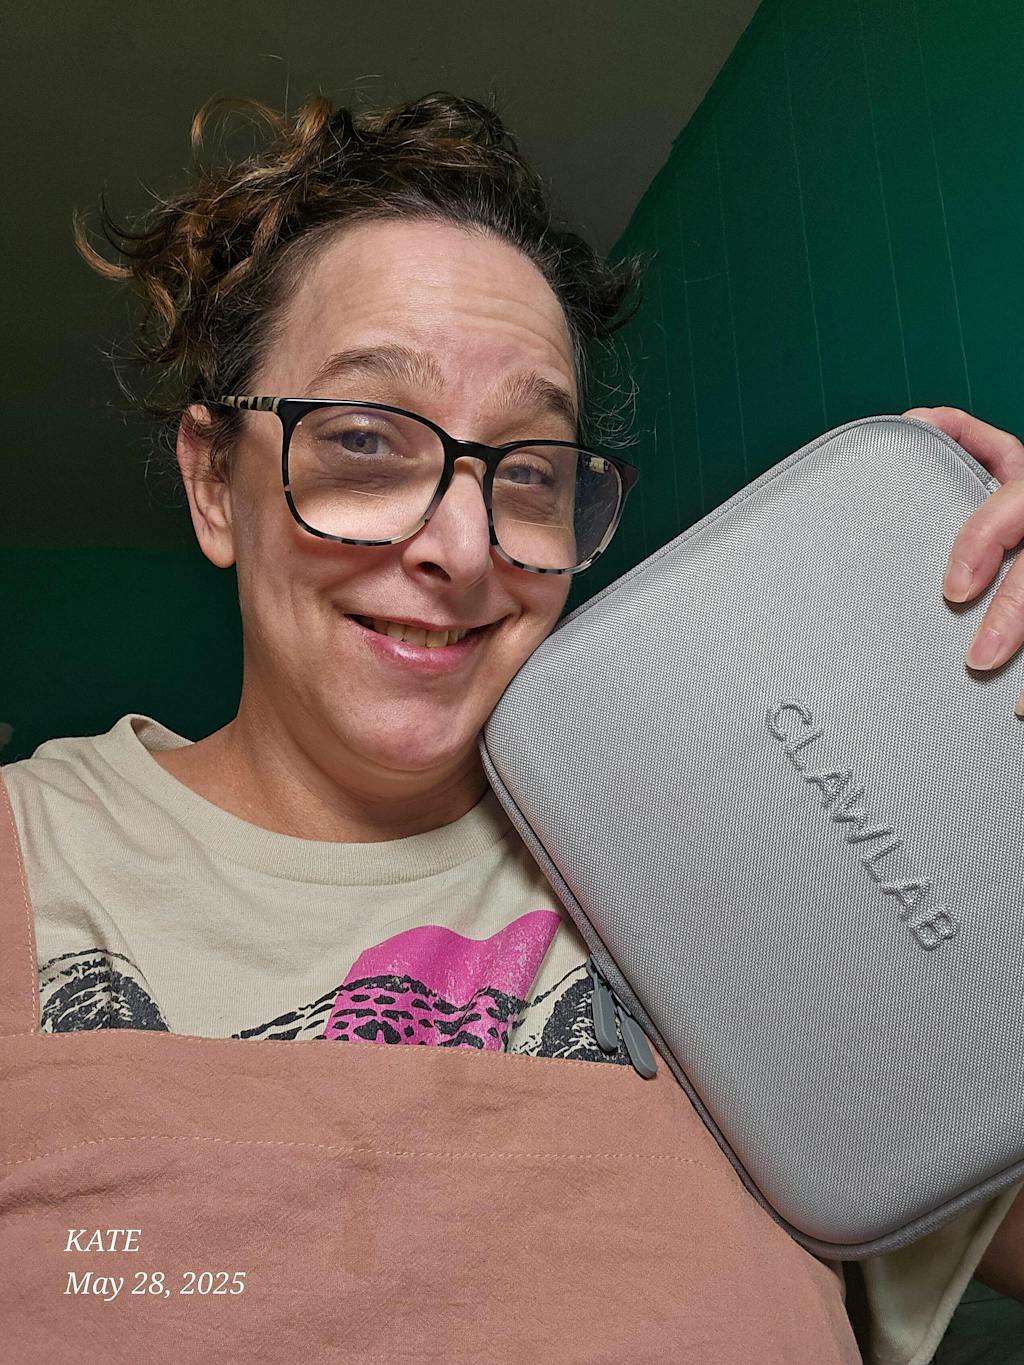 The most beginner-friendly approach is choosing a complete nail-free tufting kit that bundles everything you need in one package. These comprehensive sets typically include the fabric rod frame system, pre-cut backing fabric sized to fit perfectly, sharp tufting shears for trimming pile, and backing adhesive to secure your finished work. This all-in-one solution eliminates the guesswork of compatibility and ensures each component works seamlessly together. Beyond the core kit, consider adding a cone holder to manage yarn feeding and a carving tool for creating textured designs once you’ve mastered basic techniques. Quality beginner kits prioritize intuitive assembly and clear instructions, letting you move quickly from unboxing to creating your first project with confidence and minimal frustration.
Prioritize Safety and Creativity with Modern Tufting Solutions
The nail-free tufting kit represents a fundamental shift in how hobbyists approach this beloved craft, transforming safety from a constant concern into a built-in advantage. By replacing traditional nail-studded frames with an innovative fabric rod system, these modern kits eliminate the physical hazards that have long plagued beginners—no more hammer injuries, puncture wounds, or dangerous sharp points threatening your workspace. The simplified setup process and rock-solid fabric tension create the perfect foundation for learning to use a tufting gun with confidence, allowing you to master technique without compensating for structural instability or navigating around metal hazards. For crafters seeking a beginner-friendly tufting rug kit, choosing a nail-free design means prioritizing both your safety and your creative success. This thoughtful engineering lets you focus entirely on color choices, pattern execution, and the satisfying rhythm of bringing your vision to life. Whether you’re crafting in a busy family home or a quiet studio, a nail-free setup ensures every tufting session is as safe as it is inspiring. Embrace this modern approach and unlock your full creative potential—without compromise, without worry, and with the confidence that comes from tools designed with your wellbeing in mind.