Velcro might seem like one of the easiest things to work with when you are sewing. After all, it is just two fabric strips with hooks and loops that stick together. But anyone who has tried to sew Velcro onto fabric knows it is not always as simple as it looks. From broken needles to snagged fabric, sewing Velcro can have its challenges. The good news is that with a few tips and some preparation, you can make sewing Velcro a much smoother experience.
Choosing the Right Velcro
Before you even pick up your needle, it is important to choose the right type of Velcro for your project. There are different grades available depending on what you are making. For heavy duty projects like bags, outdoor gear, or industrial use, industrial hook and loop tape is the way to go. It is stronger, more durable, and built to withstand repeated use and heavy stress. However, because it is thicker and tougher, it also requires a bit more care when sewing.
For lightweight projects like clothing, baby items, or simple crafts, regular sew-on Velcro works perfectly fine. Make sure you buy sew-on Velcro rather than adhesive-backed Velcro. Adhesive Velcro may seem easier at first, but sewing through the sticky layer can gum up your needle and lead to frustrating mistakes.
Prepare Your Fabric and Velcro
Like any sewing project, preparation is key. Start by cleaning both your fabric and Velcro. Any dirt, lint, or oils can affect how well the Velcro attaches and how easily your machine glides through the materials. Give your fabric a quick press with an iron to smooth out any wrinkles.
When cutting your Velcro strips, round off the corners. Sharp corners are more likely to catch on clothing or unravel over time. By rounding the corners, you give the finished piece a cleaner look and better durability.
Use the Right Needle and Thread
Sewing Velcro puts extra stress on your needle. A strong, sharp needle is a must. A size 14 or 16 universal needle works for most Velcro, but if you are working with industrial hook and loop tape, consider using a denim or leather needle for even more strength. These needles are designed to handle thick, tough materials without breaking.
When it comes to thread, use a high-quality polyester or nylon thread that matches the color of your Velcro. These threads are stronger than cotton and less likely to snap under the tension caused by sewing through thicker layers.
Pinning and Placement
Place your Velcro exactly where you want it before you start sewing. Use pins or fabric clips to hold it in place. Keep in mind that the hook side should typically face away from your skin when worn, since the loop side is softer and more comfortable.
If you are working with multiple layers of fabric, make sure everything stays aligned. It is easy for the Velcro to shift slightly as you start stitching, which can lead to uneven seams.
Stitching Techniques
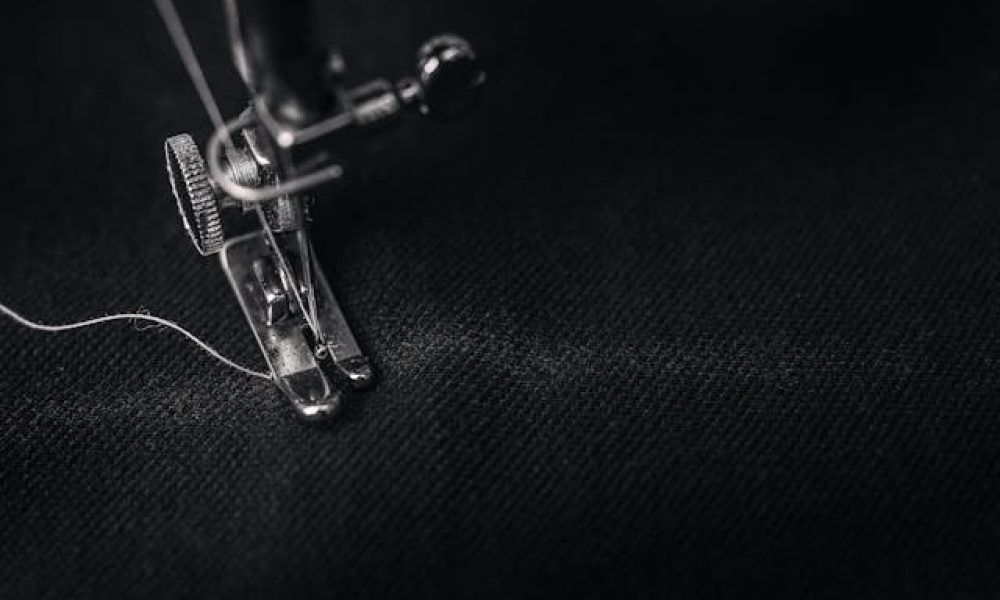
A simple straight stitch around the edges of the Velcro is usually enough to secure it. Start by sewing a few stitches forward and then back to lock the thread in place. Continue sewing around all four sides of the Velcro, staying close to the edge but not too close that you miss the fabric underneath.
For added strength, you can use a zig-zag stitch, which gives a little more flexibility and durability, especially if the item will experience frequent pulling. Some people find that using a zipper foot allows them to get closer to the edge of the Velcro without the bulky strip bumping against the presser foot.
Take your time, especially if you are sewing by machine. Go slow to prevent skipped stitches and needle breakage. If your machine struggles, you can always hand crank through the thicker sections for better control.
Practice Makes Perfect
If you have never sewn Velcro before, do a few practice runs on scrap fabric. This gives you a feel for how your machine handles the thickness and lets you adjust your stitch length or tension settings before you work on your actual project.
Practicing also helps you figure out how best to maneuver your fabric under the presser foot when sewing near corners or turning tight angles. The more comfortable you get with these moves, the neater and stronger your finished product will be.
Troubleshooting Common Problems
Even with preparation, you might run into a few hiccups while sewing Velcro. If your needle keeps breaking, check that you are using a heavy enough needle for the job. If your stitches are skipping, adjust your tension or try a zig-zag stitch to give the machine a little more flexibility.
If the Velcro seems to be bunching the fabric or shifting around, use more pins or clips to hold everything securely. You can also baste the Velcro in place with a few quick hand stitches before using the machine.
Caring for Your Finished Project
Once your Velcro is sewn in place, proper care will help it last longer. Keep the Velcro fastened when washing to prevent it from collecting lint or snagging other fabrics. Avoid high heat in the dryer, which can weaken both the Velcro and the thread over time. With a little care, your Velcro fastenings will stay strong and functional for years.
Confidence in Every Stitch
Sewing Velcro may seem intimidating at first, but it is very doable with a bit of know-how. The key is using the right tools, preparing your materials, and practicing your technique. Whether you are adding Velcro to kids’ clothing, outdoor gear, or crafting projects, these tips will help you get the job done neatly and securely.
Next time you reach for that industrial hook and loop tape or basic Velcro strips, you can feel confident knowing exactly how to tackle the sewing process. And once you master it, you will probably find even more creative uses for Velcro in your future sewing projects.