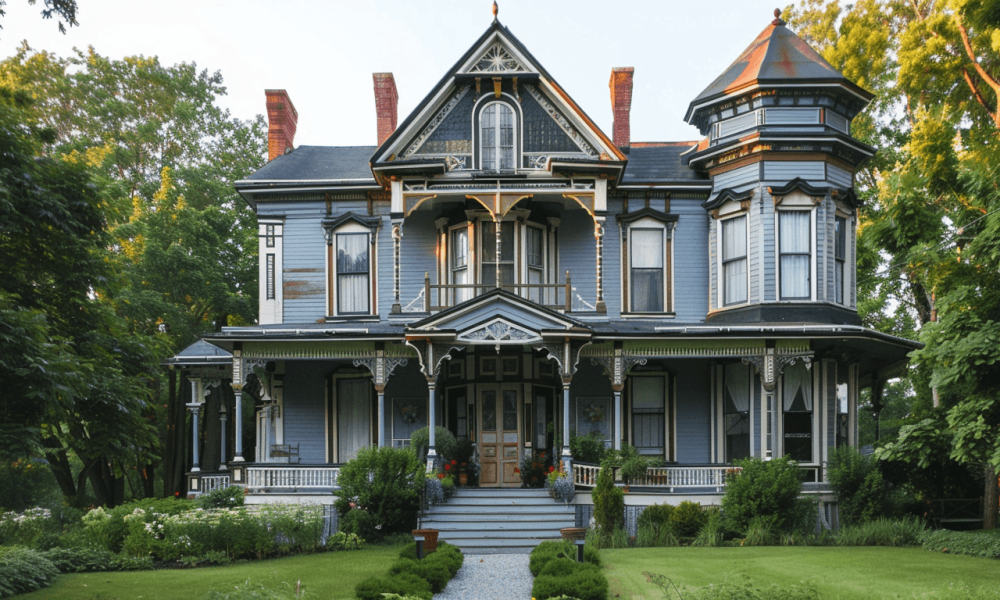
Historic buildings can be great renovation projects for those looking for a challenge. Many times, these buildings have a timeless beauty that you can breathe fresh life back into. However, there are seven vital steps that you’ll want to ensure that you don’t overlook on your next historic building renovation.
1- Ensure Code Compliance
It’s very common for towns to protect their historic districts. In some cases, this may just mean not rebuilding in a particular location. In other cases, there may be specific code compliance guidelines that you’ll need to follow throughout your entire renovation. Some may be as specific as limiting the paint colors that you can use. Do yourself a favor and check with your local code office if your building is deemed to be historic for your community so you know what’s expected of you.
2- Consult a Structural Engineer
There’s no denying the fact that time can wreak havoc on a building. Whether it was constructed faulty to start with or there was just too much ground shifting, your building may have structural issues. It’s best to consult a structural engineer before renovating your historic building to identify any potential problems. Structural issues are costly and should be dealt with before doing any sort of cosmetic upgrades.
3- Make Preparation for Painting
It can be very easy to get carried away with trying to make major progress on your building. One of the easiest ways to create a massive transformation of your property is to paint it. Paint can change the feel and look of any room very quickly. However, without properly preparing your surfaces to ensure optimal paint adhesion, all that labor can easily be a waste of time. Paint chipping and flaking are very common when historic surfaces aren’t properly prepared before they are repainted.
4- Invest in Roof Components
Your roof is probably the most important component of your entire historic building. If your roof is in poor condition, it will allow moisture to seep into the interior of the building and cause massive damage. Do yourself a favor and always assess your roof components, including the roofing material, venting, flashing, gutter system, and so forth. Your roofing system should be working at its peak to ensure the overall safety and longevity of your entire building.
5- Find the Correct Cleaning Products
There’s likely going to be a lot of cleaning necessary to bring your historic building back to its prime. While it can be easy to grab whatever product is on the shelf at your local hardware store, you need to think again. The building materials from decades ago are much different than the ones we see today. For example, a lot of masonry from the 20th century was done with low-temperature fired bricks. Using any abrasive cleaner will cause these porous bricks to deteriorate easily. You need to be using non-abrasive cleaners for these older buildings to ensure the longevity of their materials.
6- Use the Right Mortar
When renovating a historic building, it’s very common to need to repoint at least some of the masonry. While this may seem fairly straightforward, you need to be mindful of the mortar you use. If the building was originally constructed with a soft mortar, then you need to repoint it with a soft mortar. Using a harder mortar will stop the bricks from naturally being able to expand and contract, which can lead to rapid deterioration.
7- Get the Proper Permit
While you may have read through your local town’s requirements for renovating a historic building, that’s usually not enough. Many towns require you to obtain an actual permit from their code enforcement authority. Don’t be surprised if you’ll have to schedule multiple inspections throughout the renovation process either.